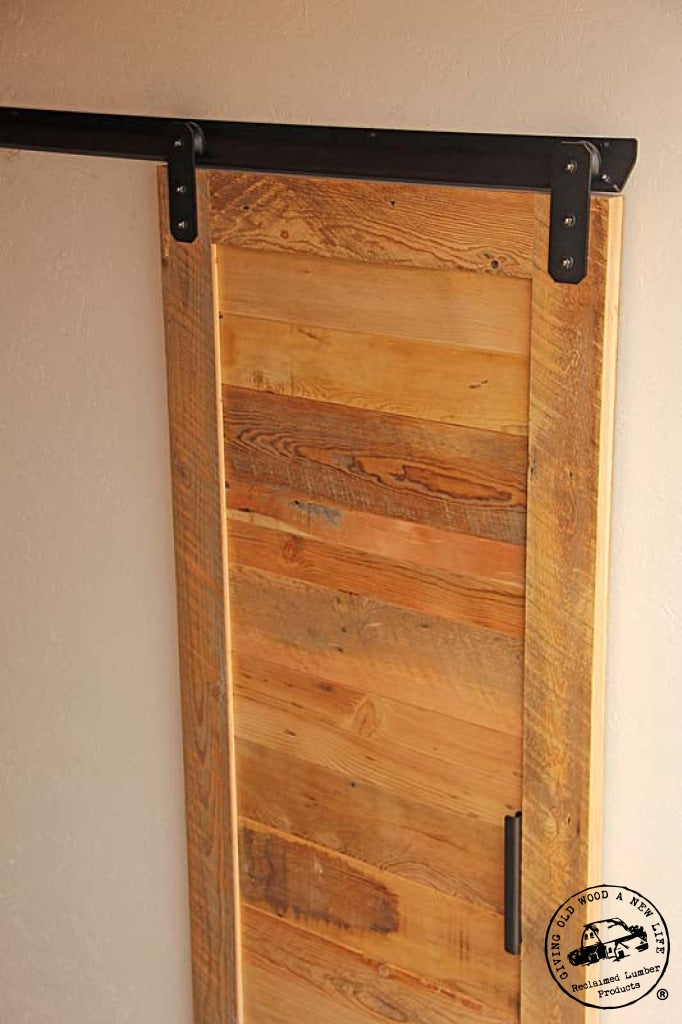
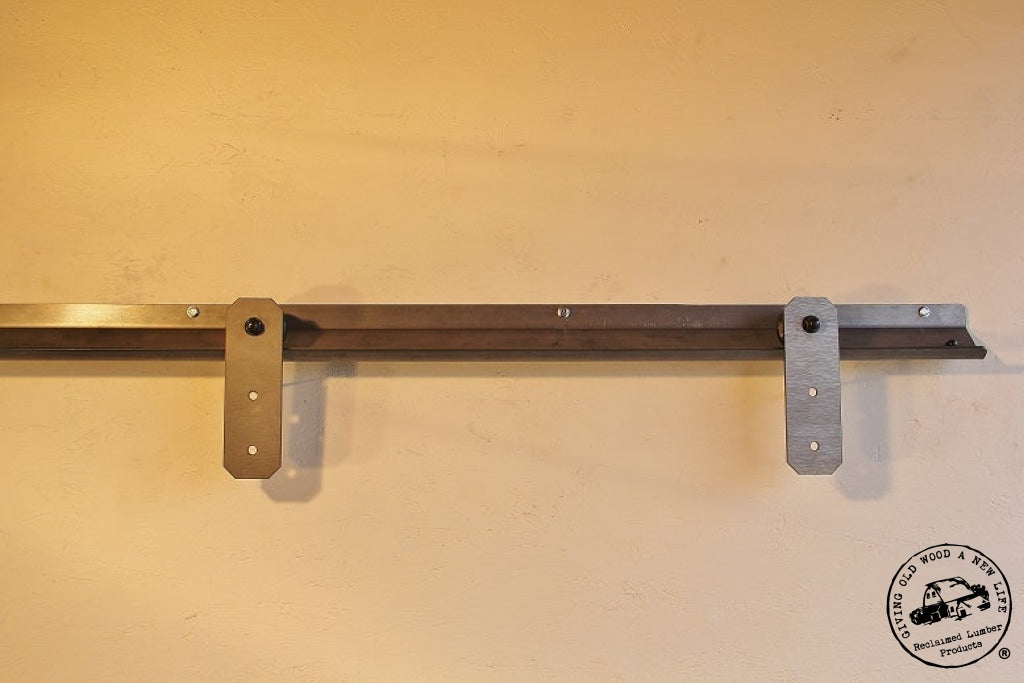
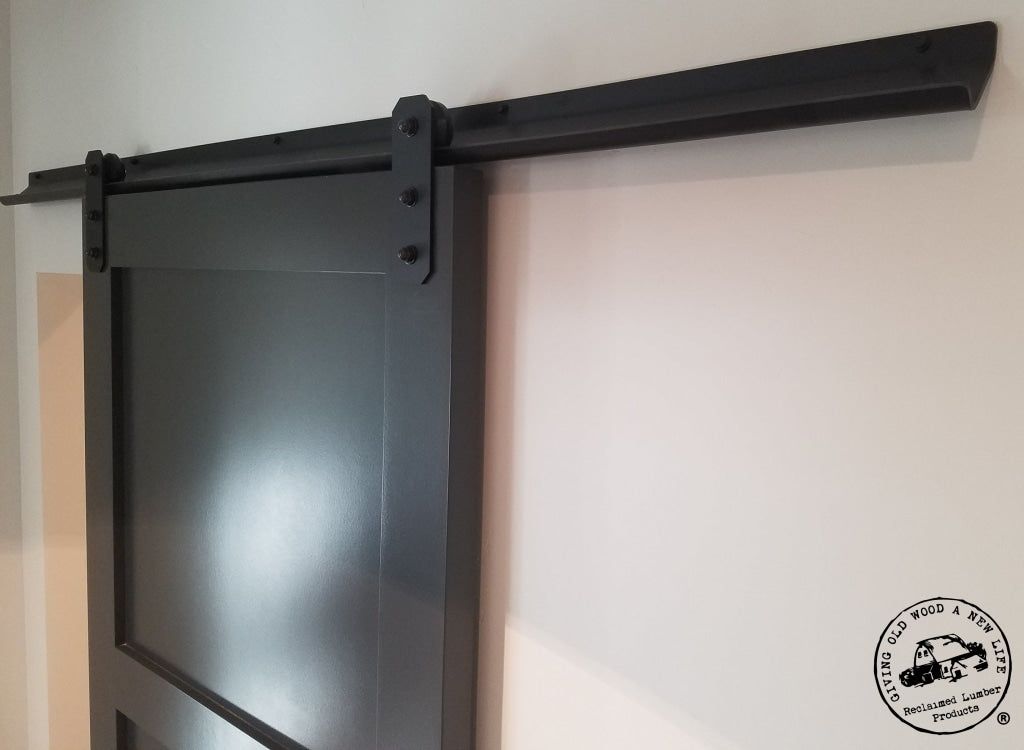
(stop here and go read the bottom of this step first for horseshoe shaped hangers) If you mount centerline/bolt holes of carriers 2 1/2” in from edge of door, this will have edge of door stop flush at end of track based on predrilled stop holes in track. The stop bolt hole is also drilled 1 ¼” in from end of track to center of hole. Utilizing our predetermined pattern plywood spacer block (only works with rectangular shaped hanger) with edges of carrier 1 ¼” from edge of door (bolt holes 2 ½” from edge of door is center of carrier) will allow for a track to work that is exactly twice the dimension of the door slab. This pattern will also center the carrier on a 5” wide stile. Here is a formula you can plug in different values if you like to calculate track length: (Door Width) + (Distance From End Of Track To Center Of Stop Bolt Hole) - (Distance From Edge Of Door To Center Of Carrier) + 1.25” = Track Length / 2 For double doors on a single piece of track just don’t divide the formula by 2 at the end.
You can plug different scenarios into the above formula to calculate all different options to make the track work for your door size. The 5/16” stop hole can be re-drilled in another spot if would like to change mounting points or have door stop in different spot on track. For example you could redrill 5/16 holes ½” in from end of track and still mount carriers 1 ¼” in from edge of door; this would allow you to use a 48 ¾” door with an 8’ track (48.75 + .5 - 2.5 + 1.25 = 96 / 2); with this option your door would stick past the end of the track ¾”. Also you could mount the carriers 5.25” to center of carrier and utilize an 8’ track for a 50 ¾” wide door without changing stop holes (50.75 + 1.25 – 5.25 + 1.25 = 96 / 2). Make sure to consider how the carriers will look in relation to the frame on the door regardless of where you choose to mount them. On double doors with a single track you can also add extra stop bolts in center of track to make sure doors stop in the middle.
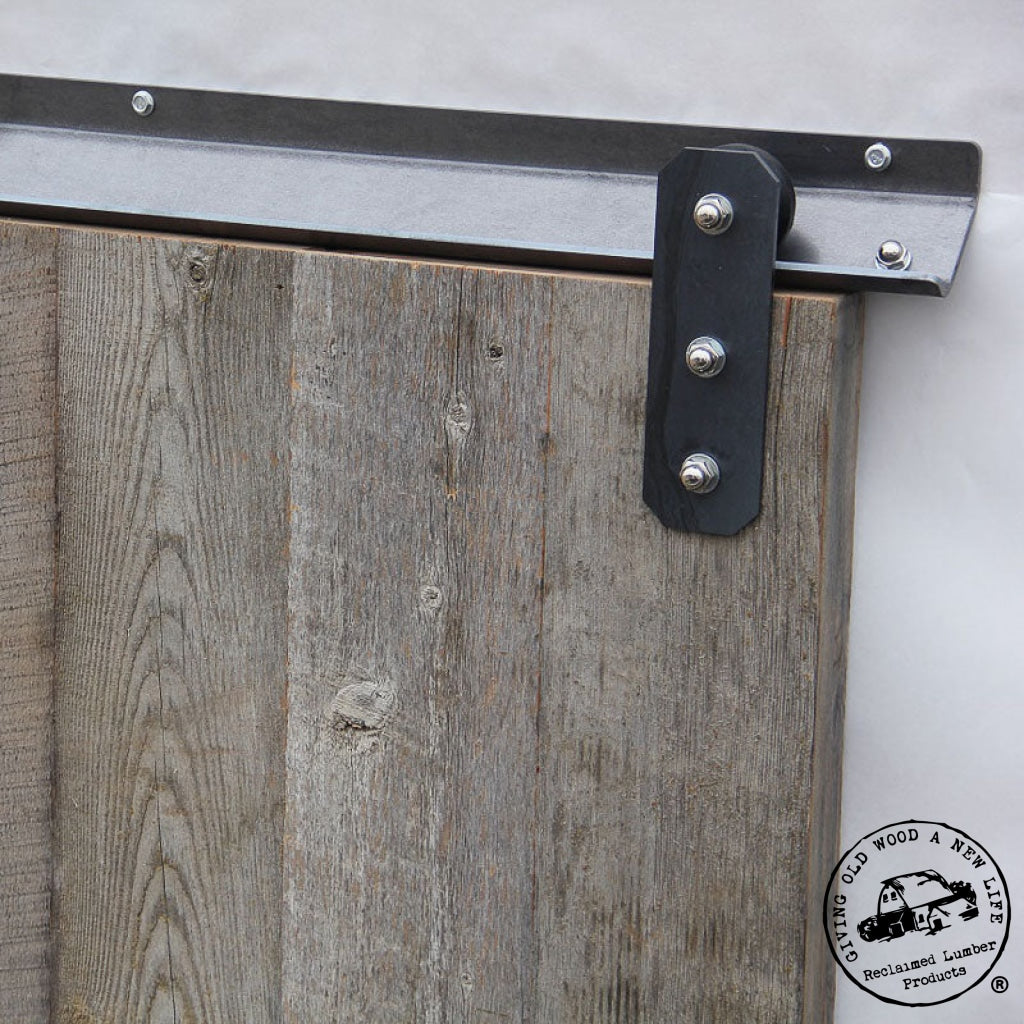
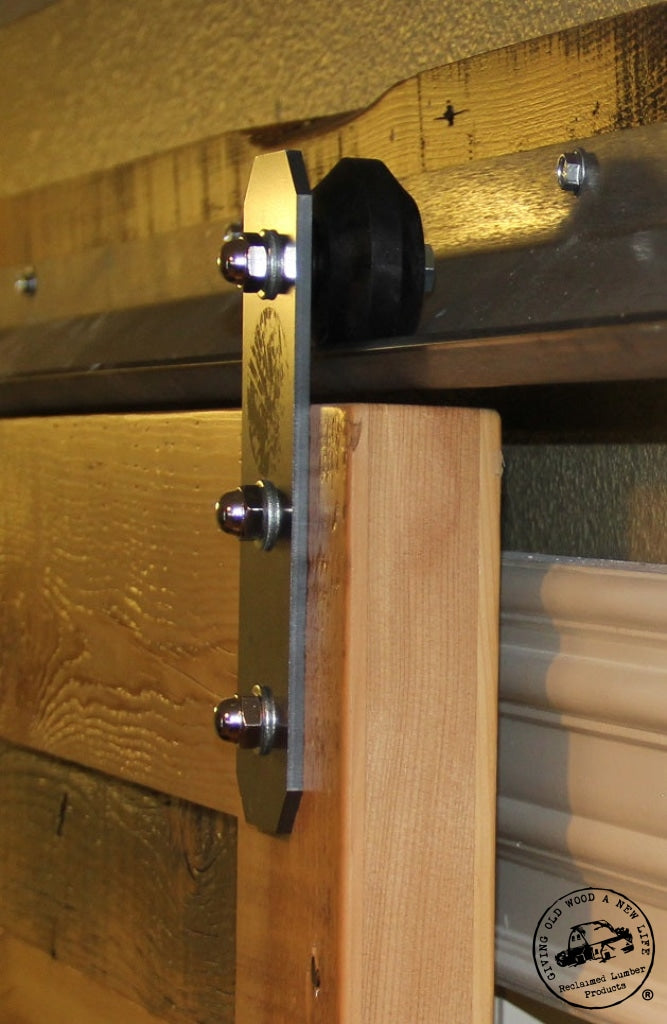
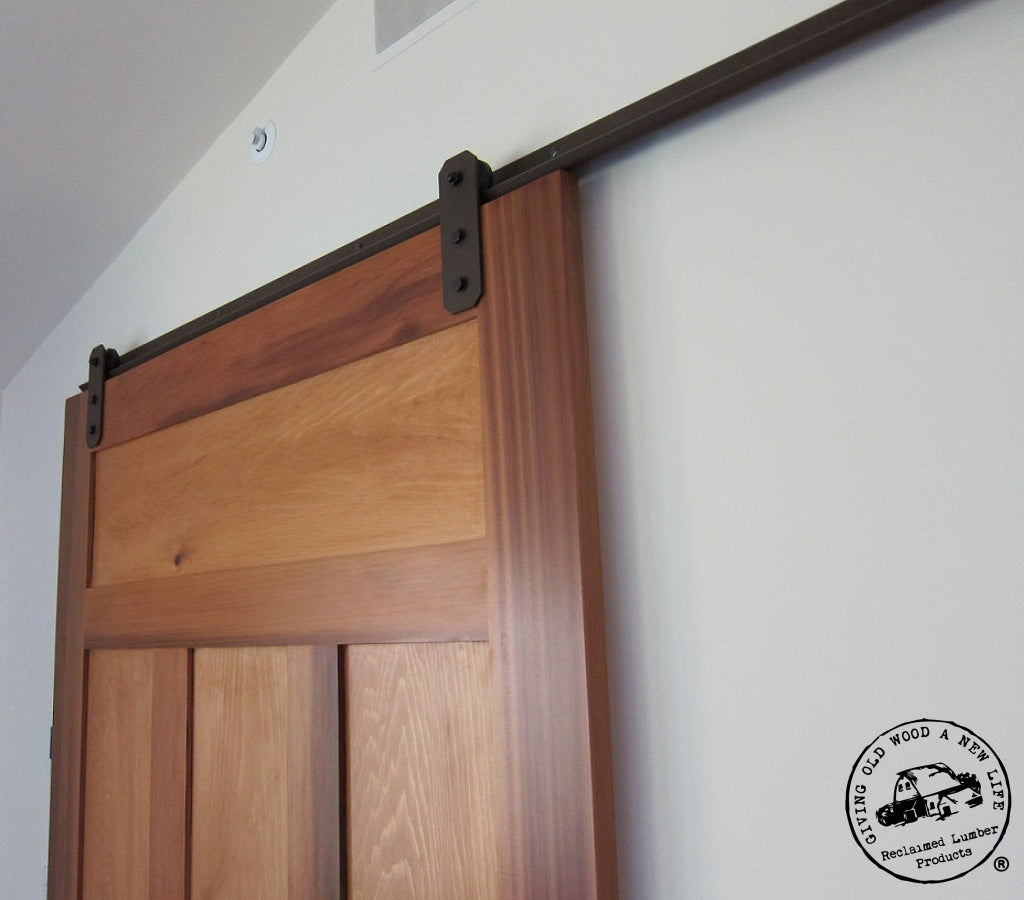
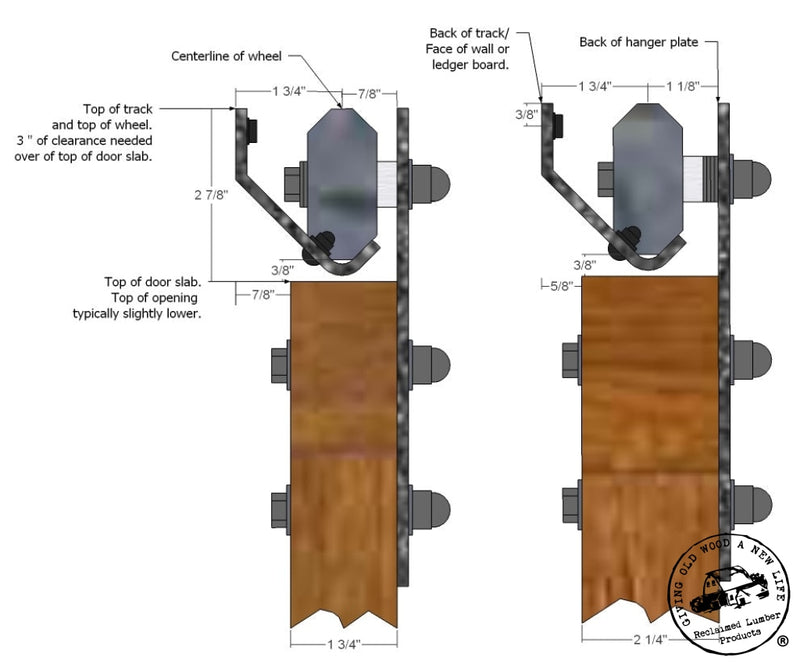
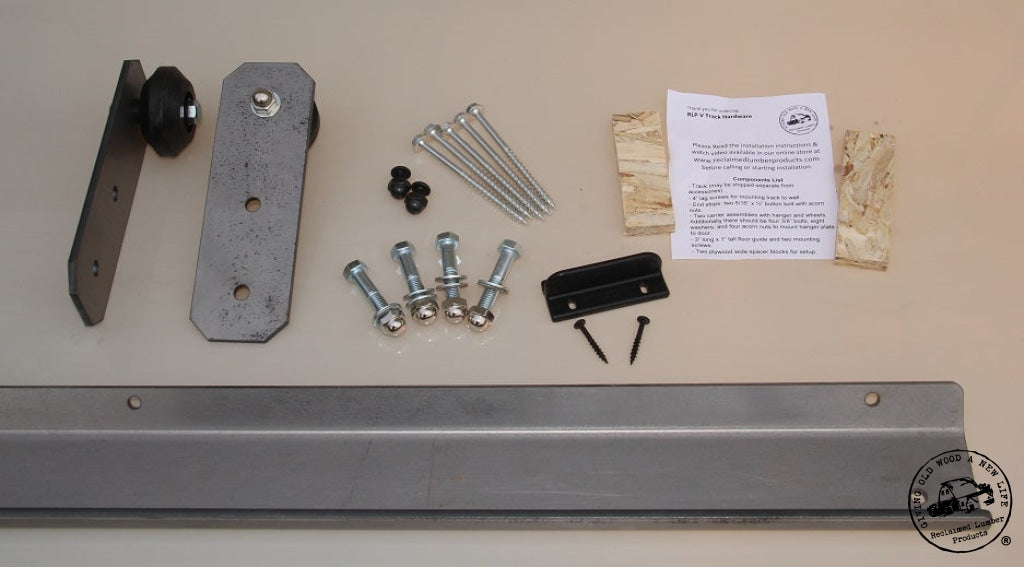
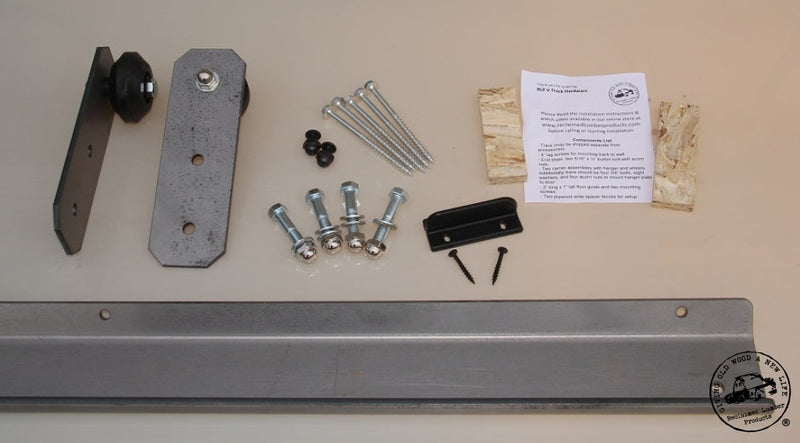
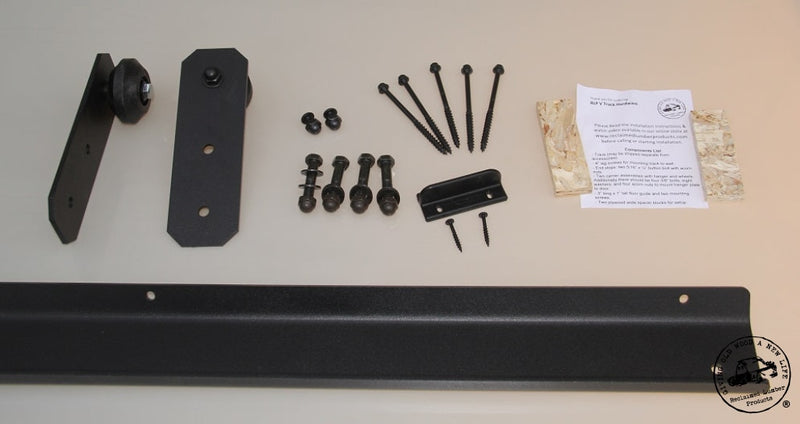
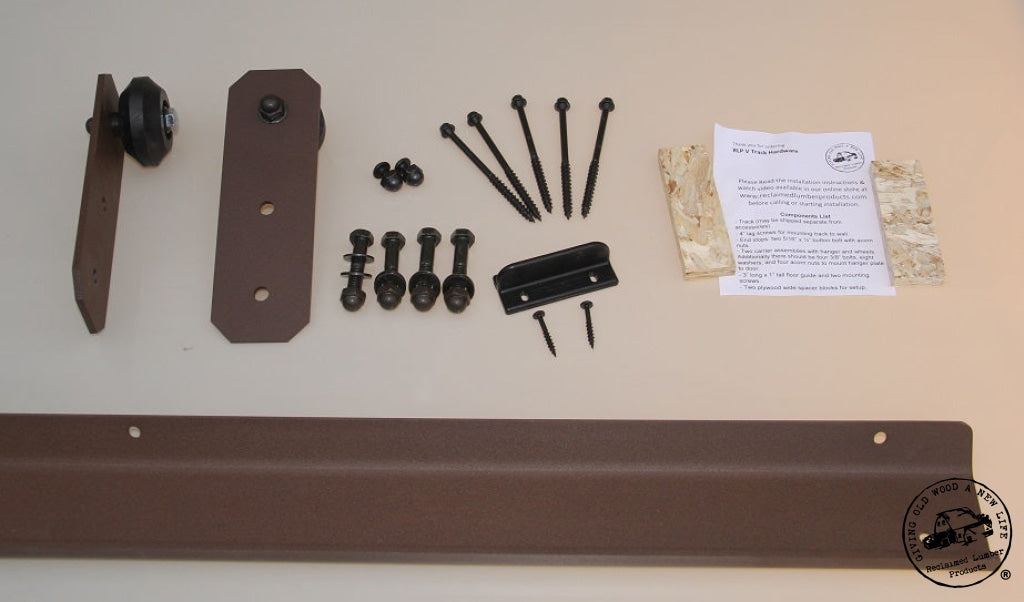
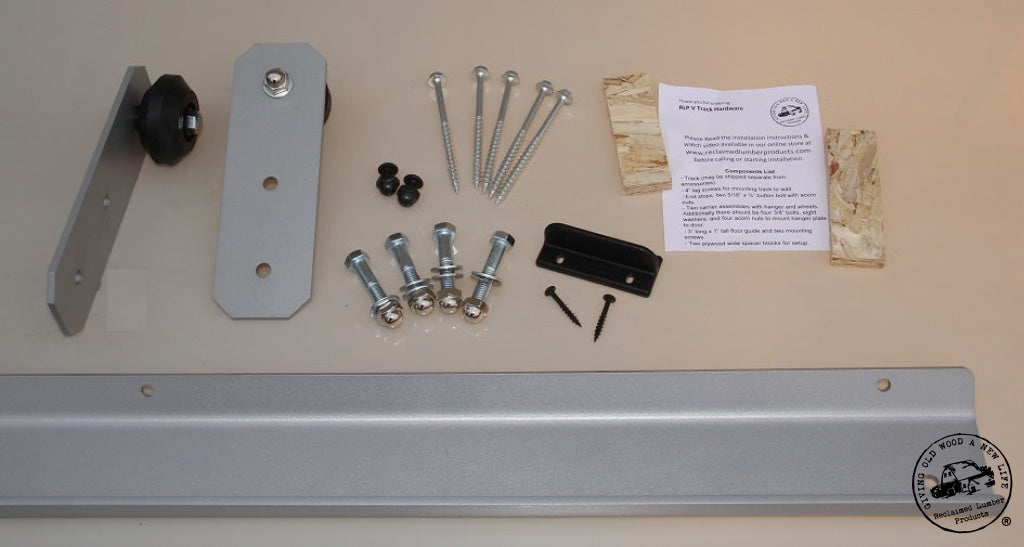
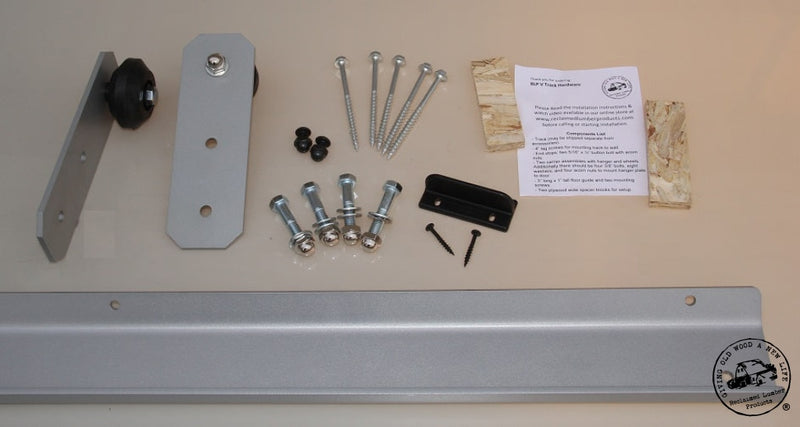
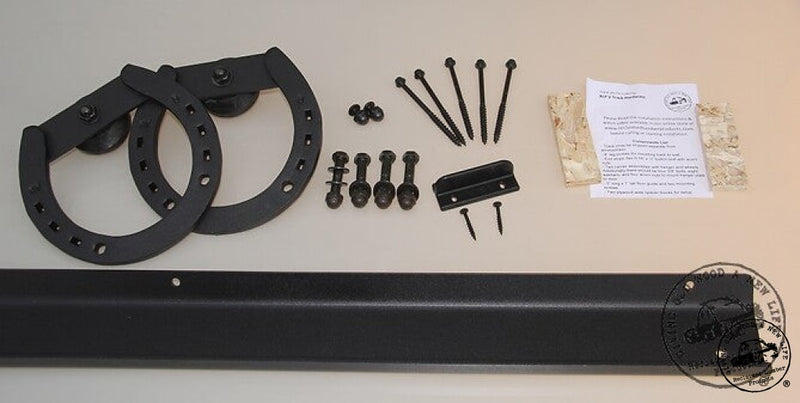
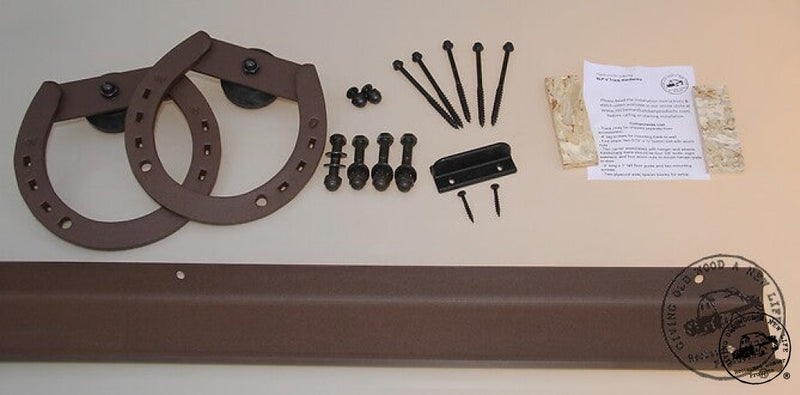
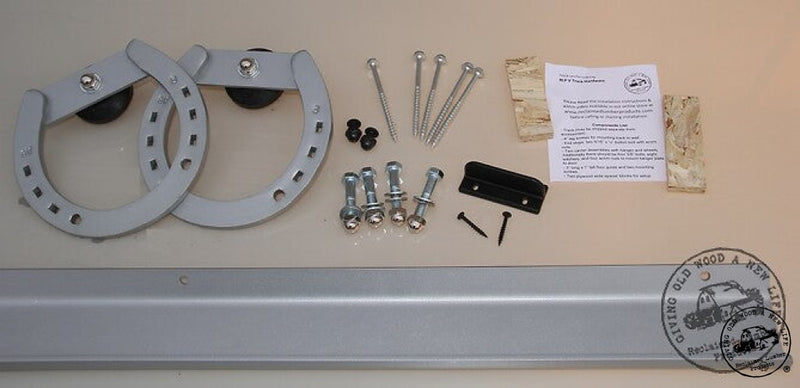
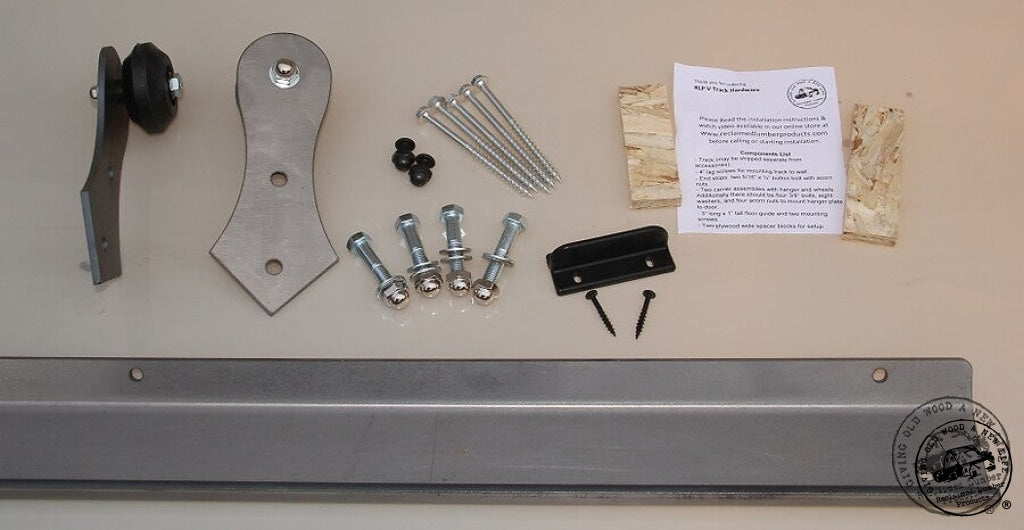
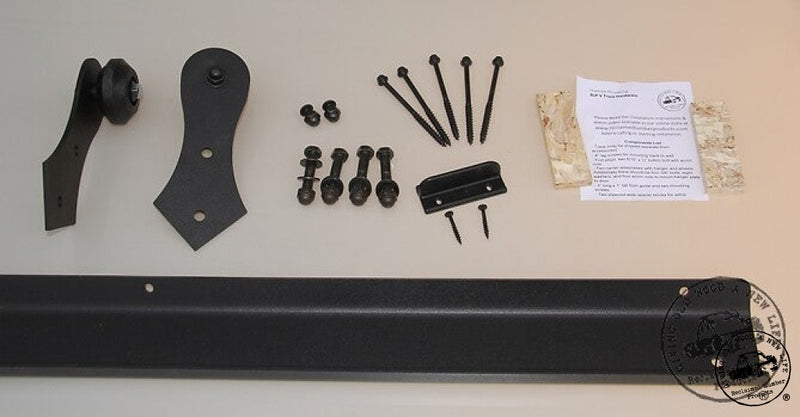
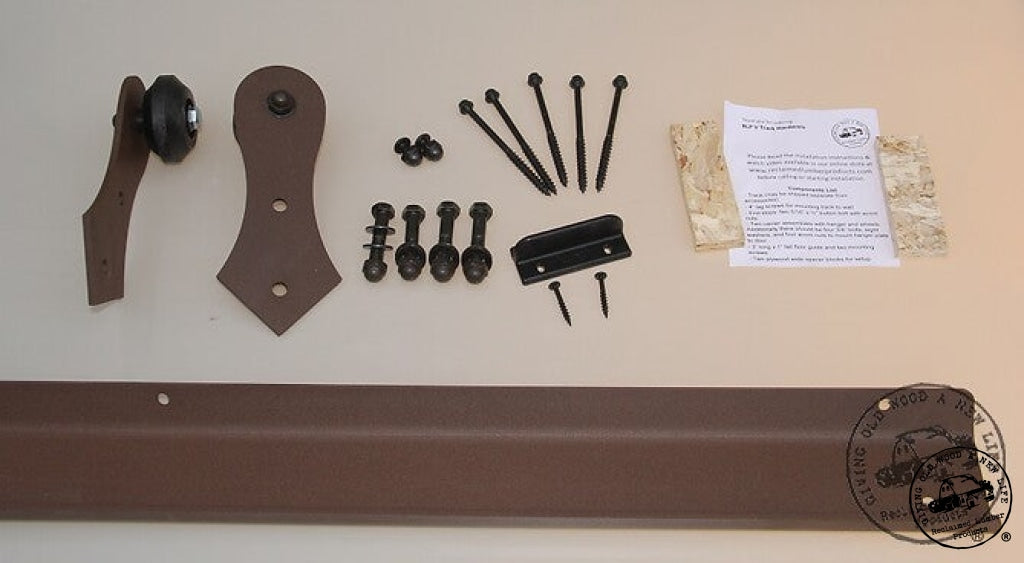
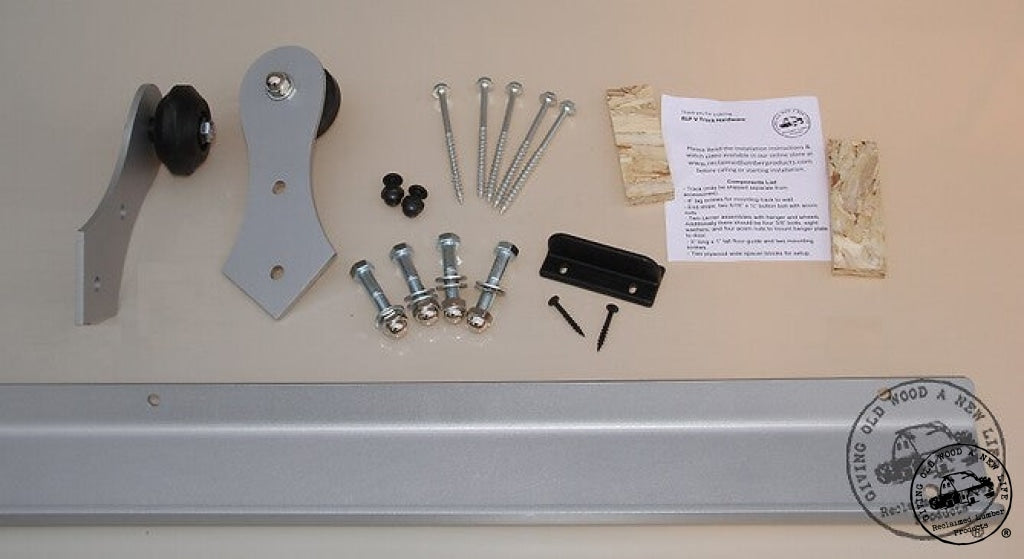
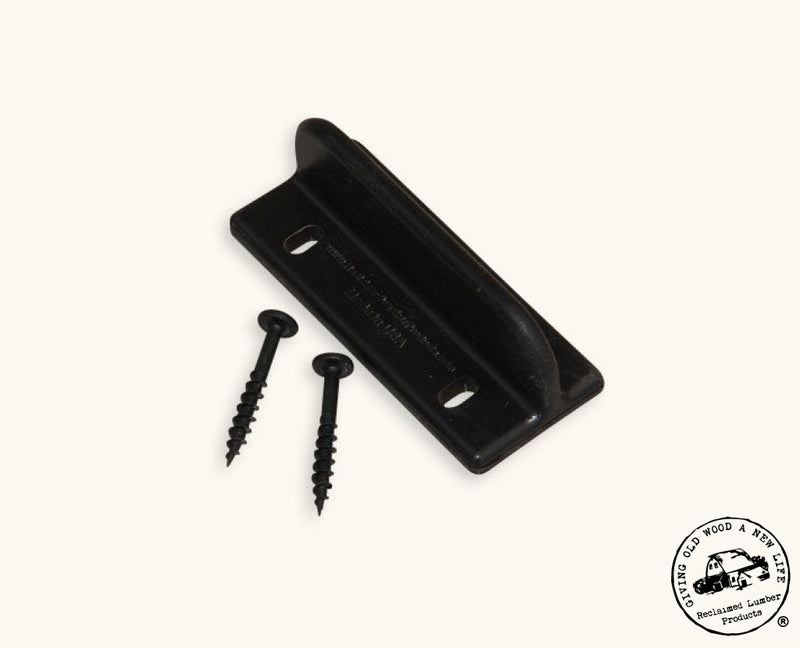
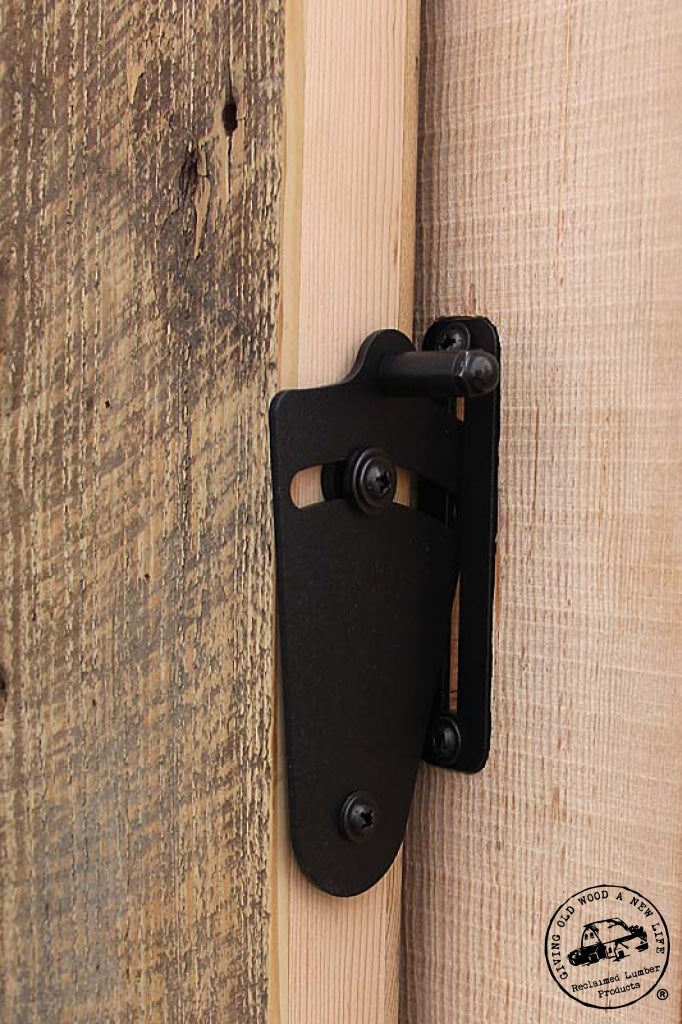
Make sure complete carrier/hanger assembly is assembled with wheel, spacers and hanger. Normally the distance from back of hanger to center of wheel is approximately half the thickness of the door. Refer to the cross section drawing on page #3. Be sure to have the bolt that is the wheel axle in the appropriate hole. This hole is the one furthest from the other two on the hanger. The two holes for attaching to the door are the pair closer to each other on the hanger’s bracket. The washer that goes under the 3/8” acorn nut on the front of the hanger is is the same size as the washer supplied with the two pair of mounting bolts used to mount the hangers to the door.
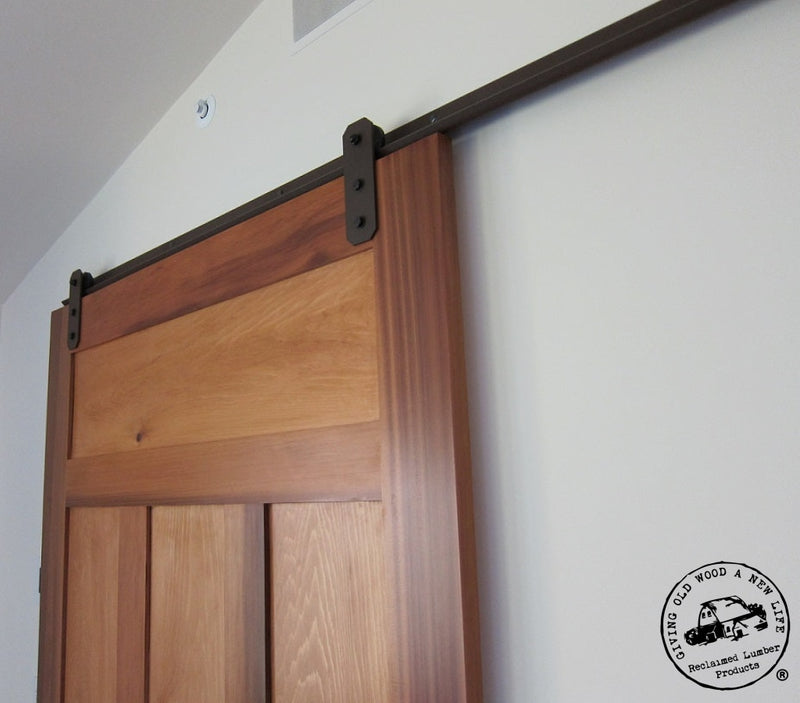
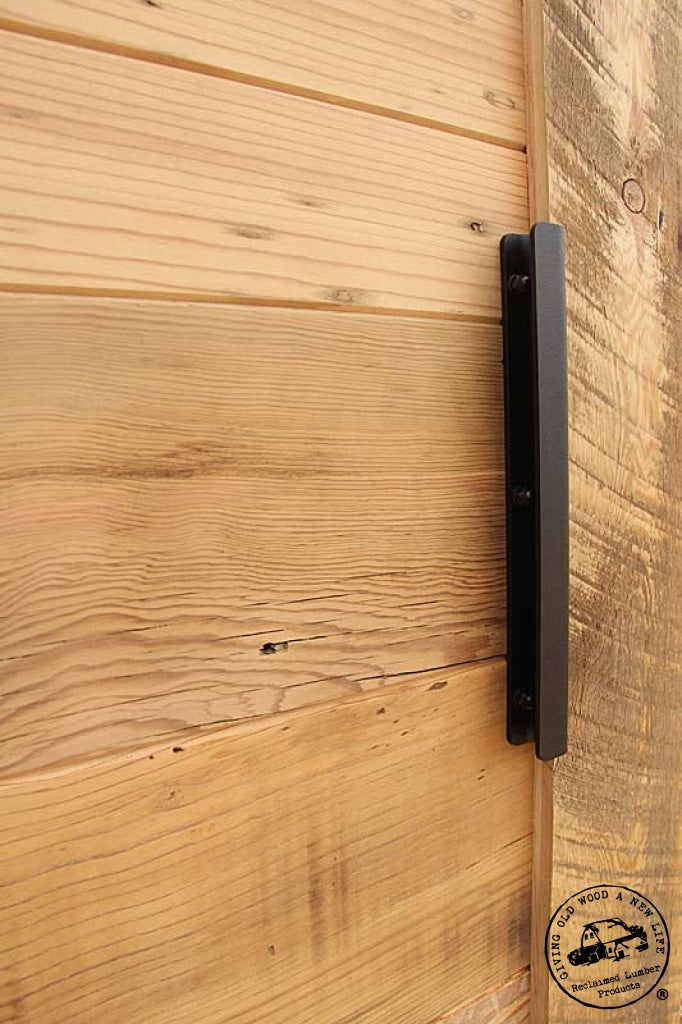
Using supplied plywood guides, flush one piece up against edge of door to get distance of 1 ¼” from edge of door to edge of carrier bracket (only works with rectangular shaped hanger) and the other piece flat against top of door. Then hold complete assembled carrier with wheel attached tight to edge of piece on face of door and wheel tight to piece on top of door. The dimension from bottom of wheel to top of door is critical that it stays this recommend gap of 3/8” (the thickness of the plywood). This is a safety and proper functioning issue. This gap makes sure that the door and carrier assembly fit on track properly, slide smoothly, and do not “jump off” track. Holding these three pieces secure, temporarily clamp carrier/ hanger assembly to door making sure to leave two bolt holes clear. Make sure to have wheel side of carrier facing to center of door and verify that carrier’s metal strap is square to door.
Use 3/8” drill bit to drill both mounting holes in the door slab using the steel carrier plate as a guide. Be sure to drill straight and perpendicular to door face. Now repeat procedure for the other side.
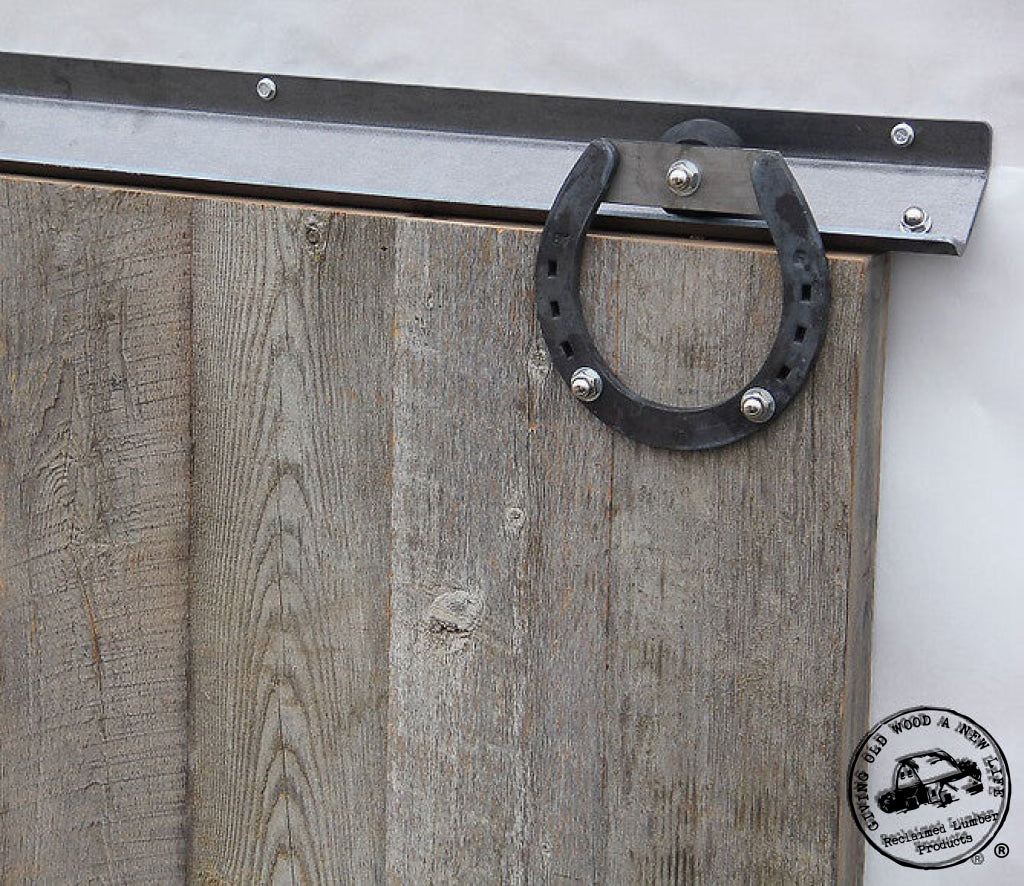
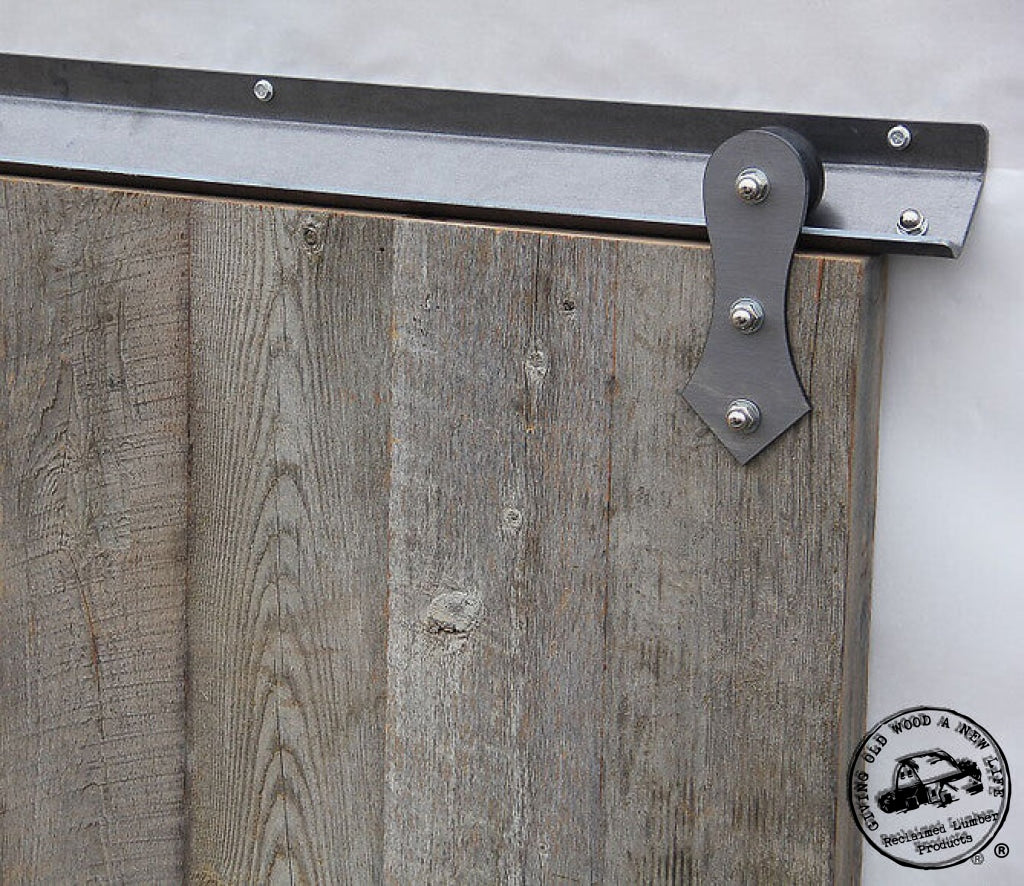
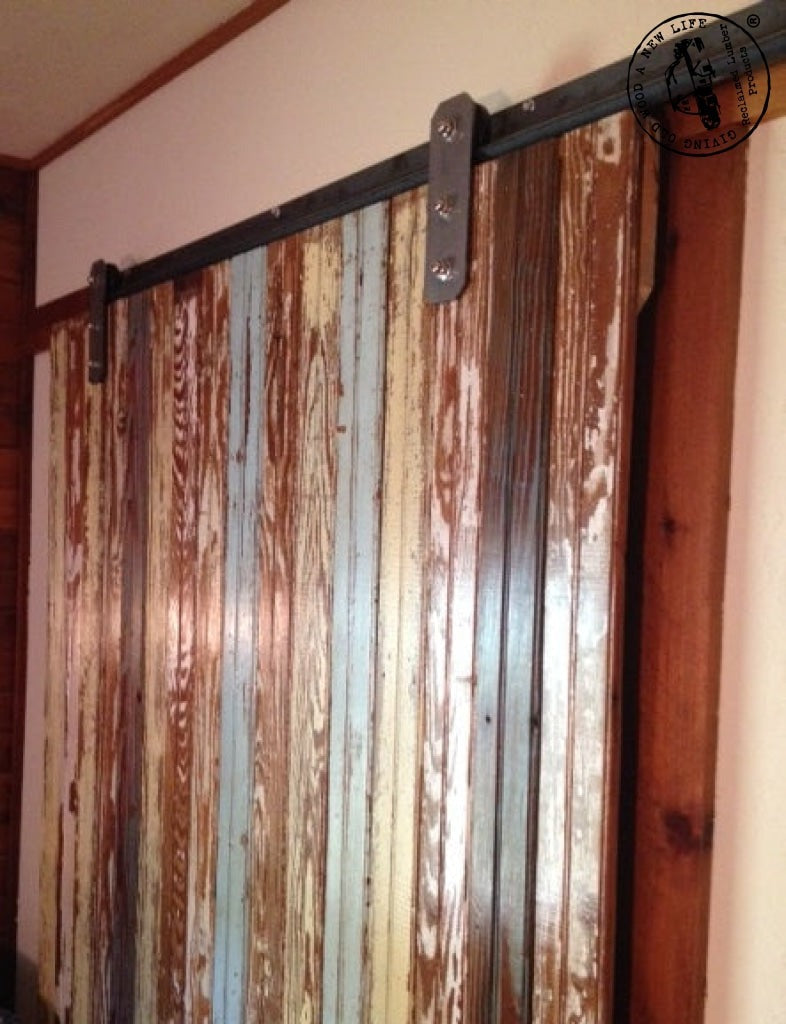
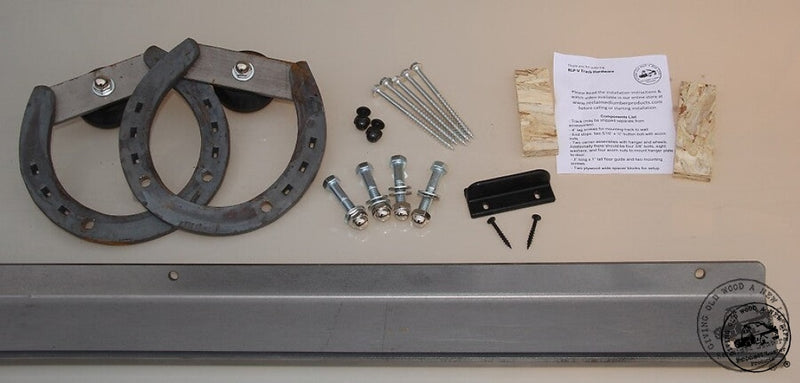
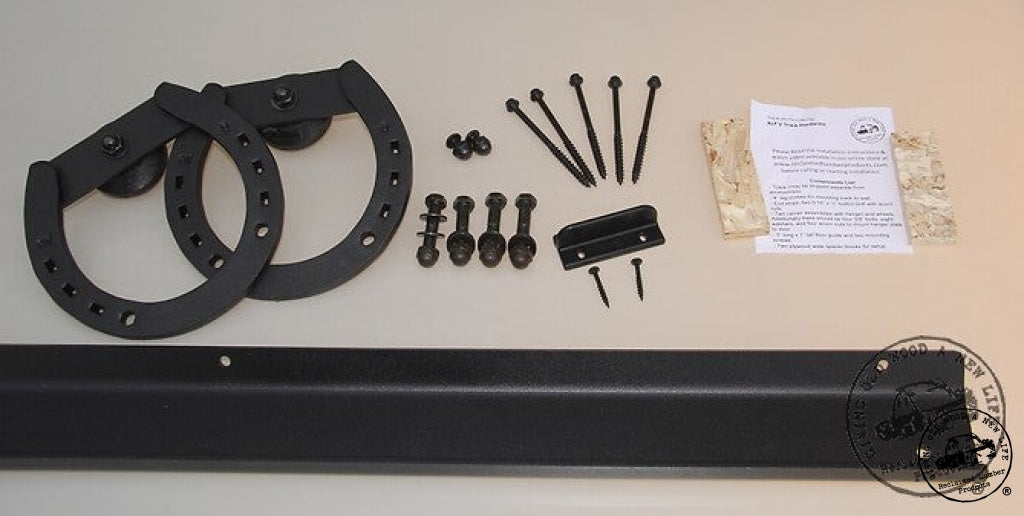
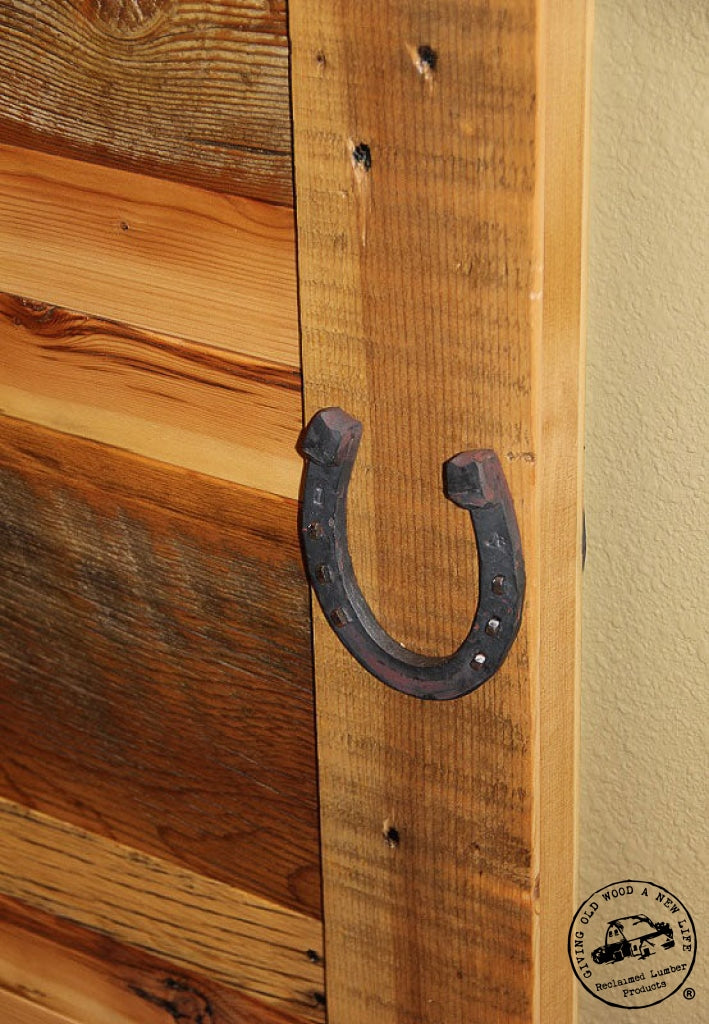
NOTE: The above step for using the plywood guide on the face of the door will not work with the arrow, horseshoe, or any custom shaped carriers; With these just measure from edge of door 2 ½” to center of bolt holes or whatever you decided would be your centerline. You must still use the plywood spacer to set wheel height above door, though.
NOTE: For horseshoe shaped hangers they are 7 ¼” wide, so if one mounts them to our normal recommend 2 ½” distance from edge of door to center of hanger they will overhang the door. Plug in your preferred centerline for horseshoe hangers into the above formula. For example if the track is twice the door width, you mount the center of the hangers 3 ¾” from edge of door, then you will probably re-drill the 5/16” stop hole at 2 ¾” from the end of the track.
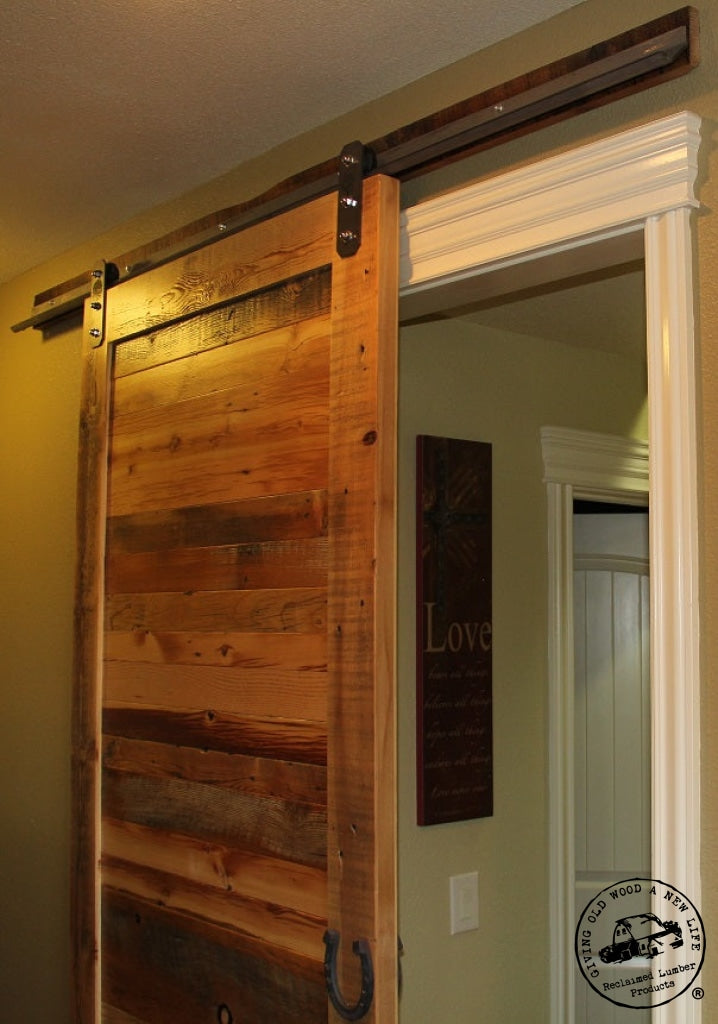
NOTE: You can order track that is any length you want even though the rule of thumb is twice the door width. If you don’t have room for this, and you have made all the adjustments you can by moving carriers and end stops then the door just won’t fully open from closed position.
Alternatively you can order track longer than you need if it helps with finding better attachment points for mounting lags; the end stops can be reinstalled to stop the door short of where it normally has the door edge flush with end of track. If the track is ordered and installed too long between stops (twice the door width) the floor guide won’t function properly. In this case you may want to order and install multiple floor guides so the door slab does not jump off a floor guide in the situation where the travel distance for the door is greater than twice the door’s width.
NOTE: Washers on axle can be moved behind or in front of wheel to change clearance from wall for relationship distance of back of hanger/ carrier to center of track and wall. This also can help adjust a door to hang more plumb. Be careful that floor guide is centered front to back on door if you make any adjustments in the axle assembly.